In Haydee, a total of 6 different locations must be explored to retrieve vital items from in order to complete the game. Each location has its own unique colour, music, difficulty and gameplay to distinctify themselves from eachother.
List of areas[]
Bridge[]
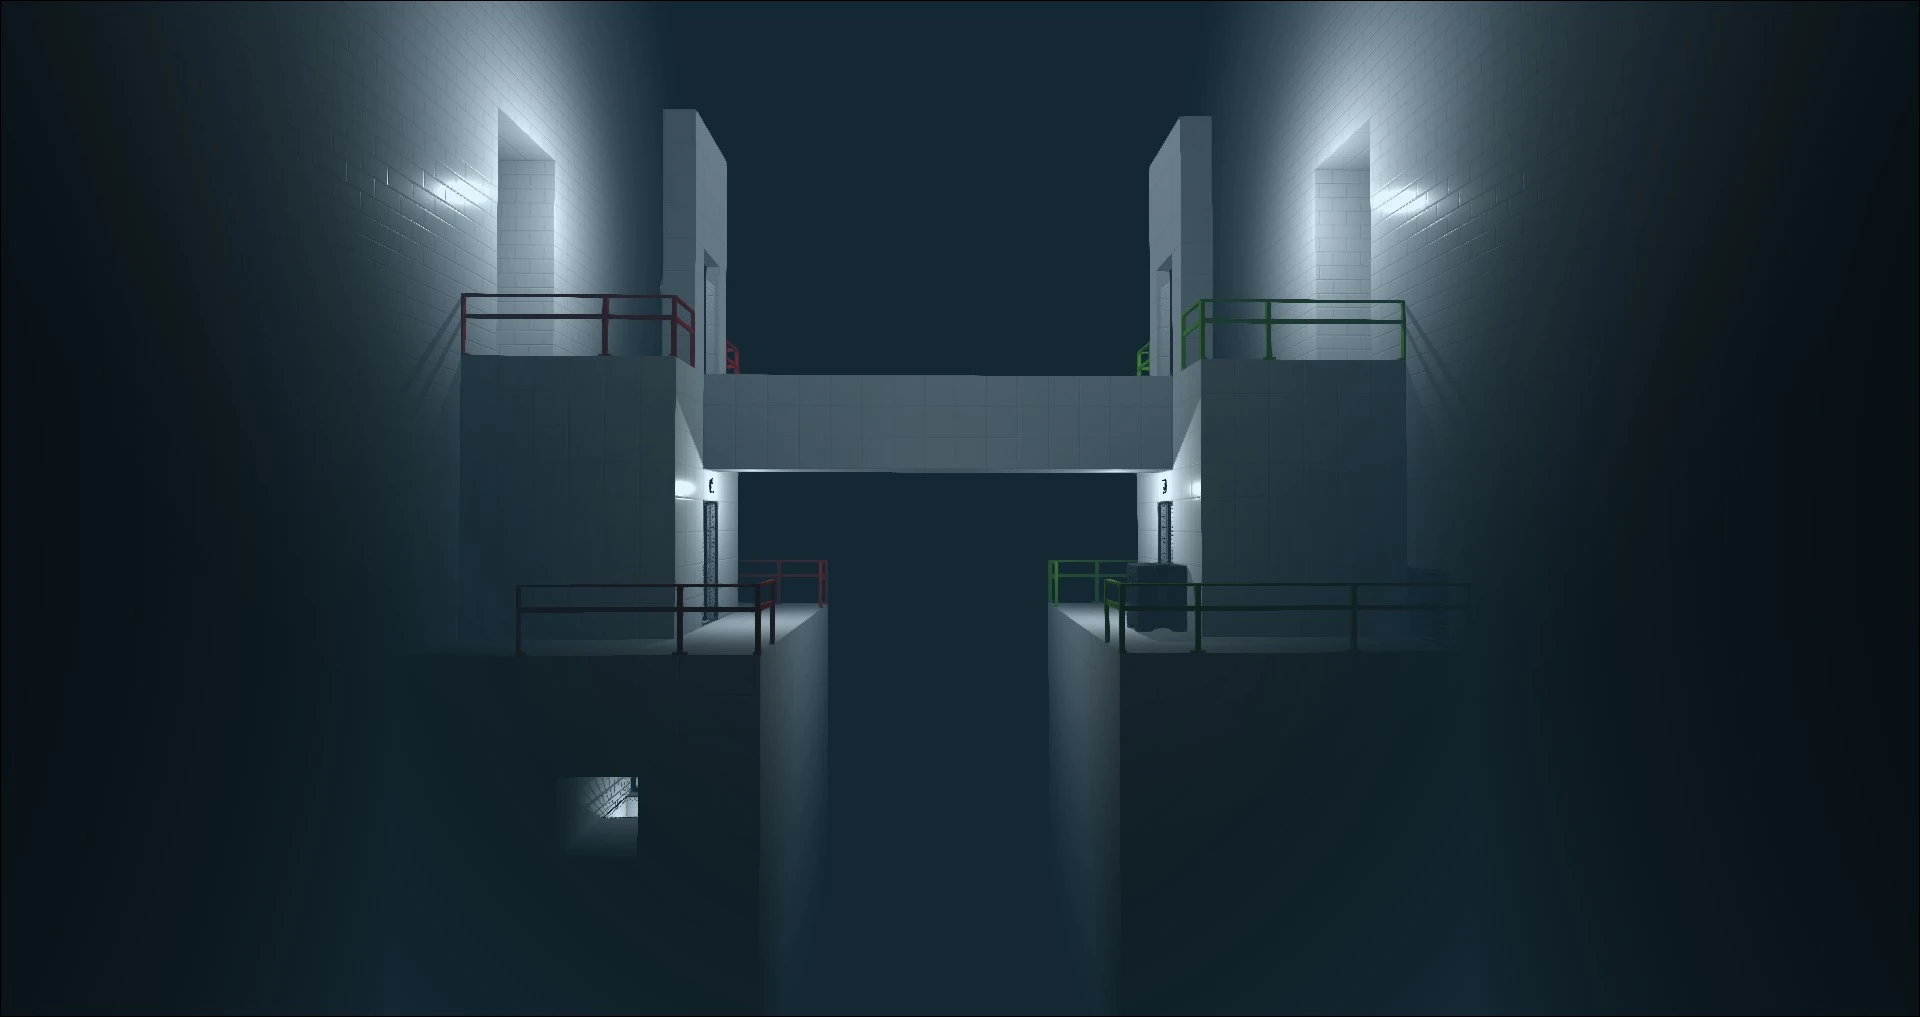
The Bridge is the central, adjoining area of Haydee that is linked to all areas in the game excluding the Yellow and Black Zone. It comprises of a thin walkway spanning the length of an incredibly large chasm. On the initial side of the Bridge the White Zone's exit and entrance to the Red Zone are found, whereas the opposite side allows access to the Green and Blue Zone.
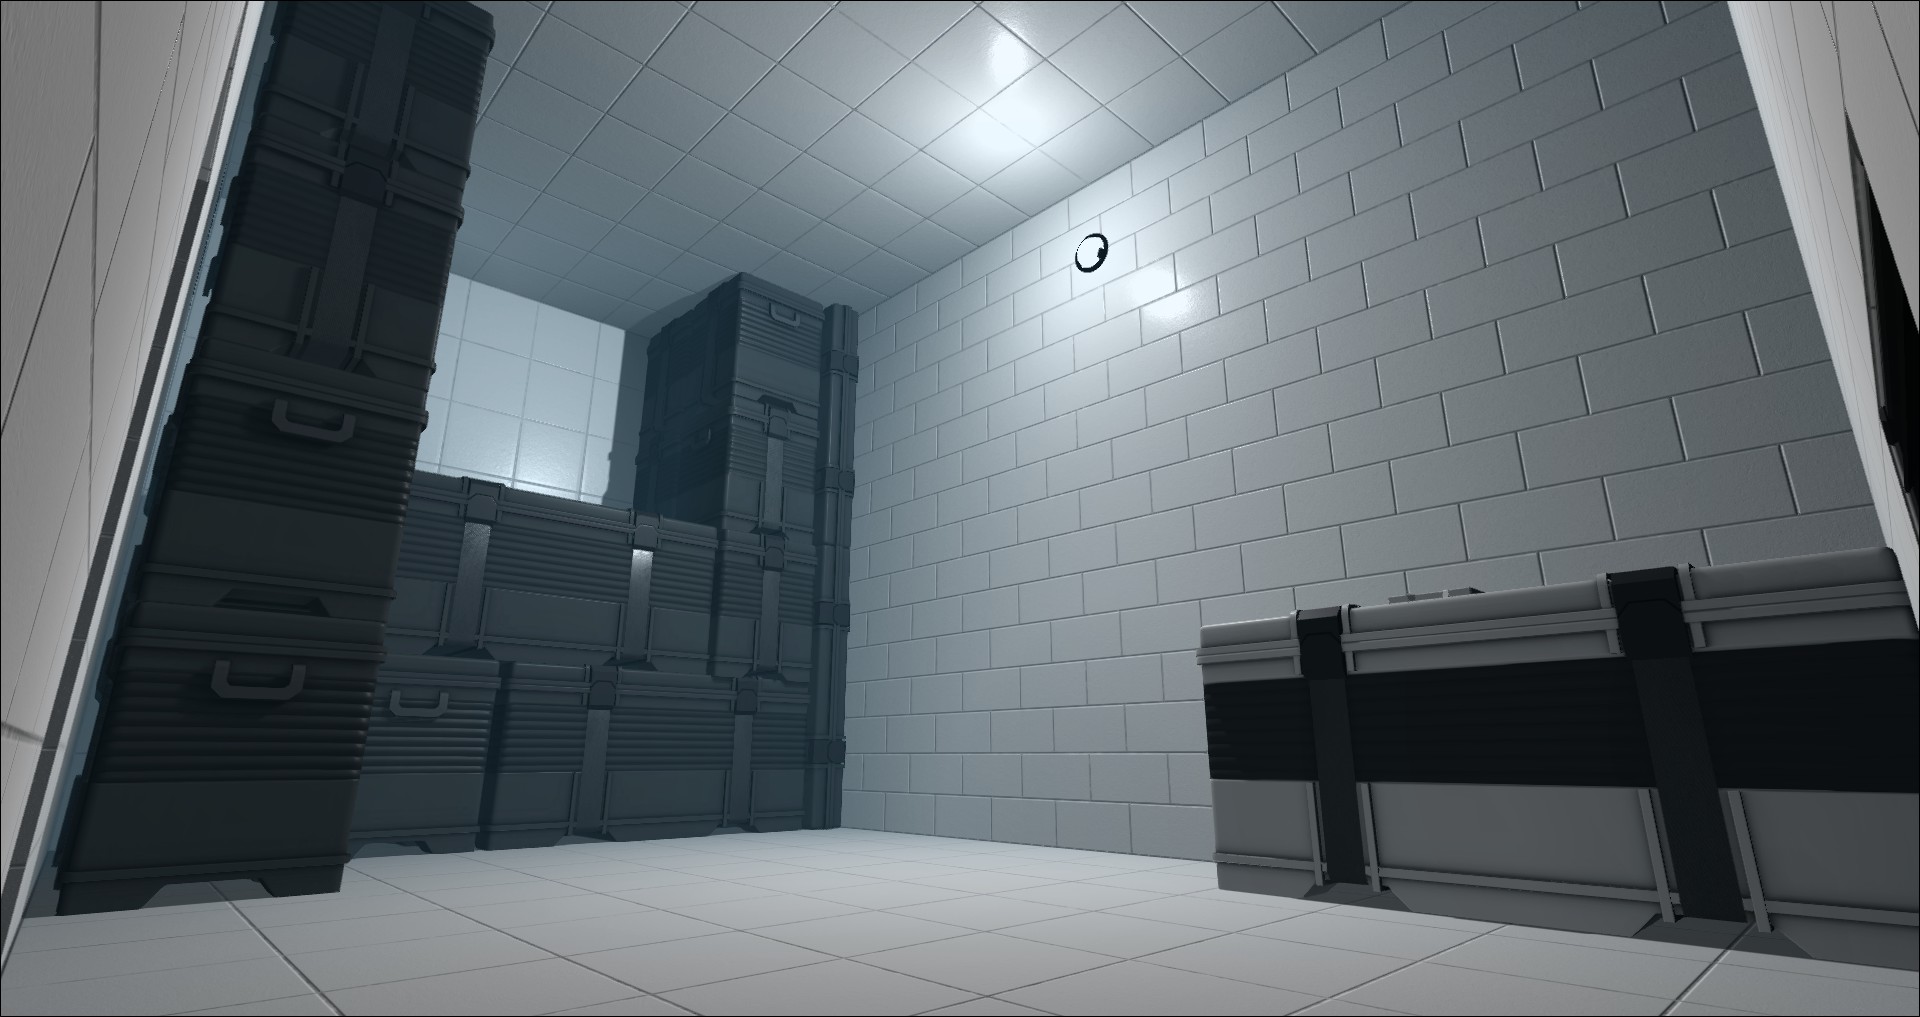
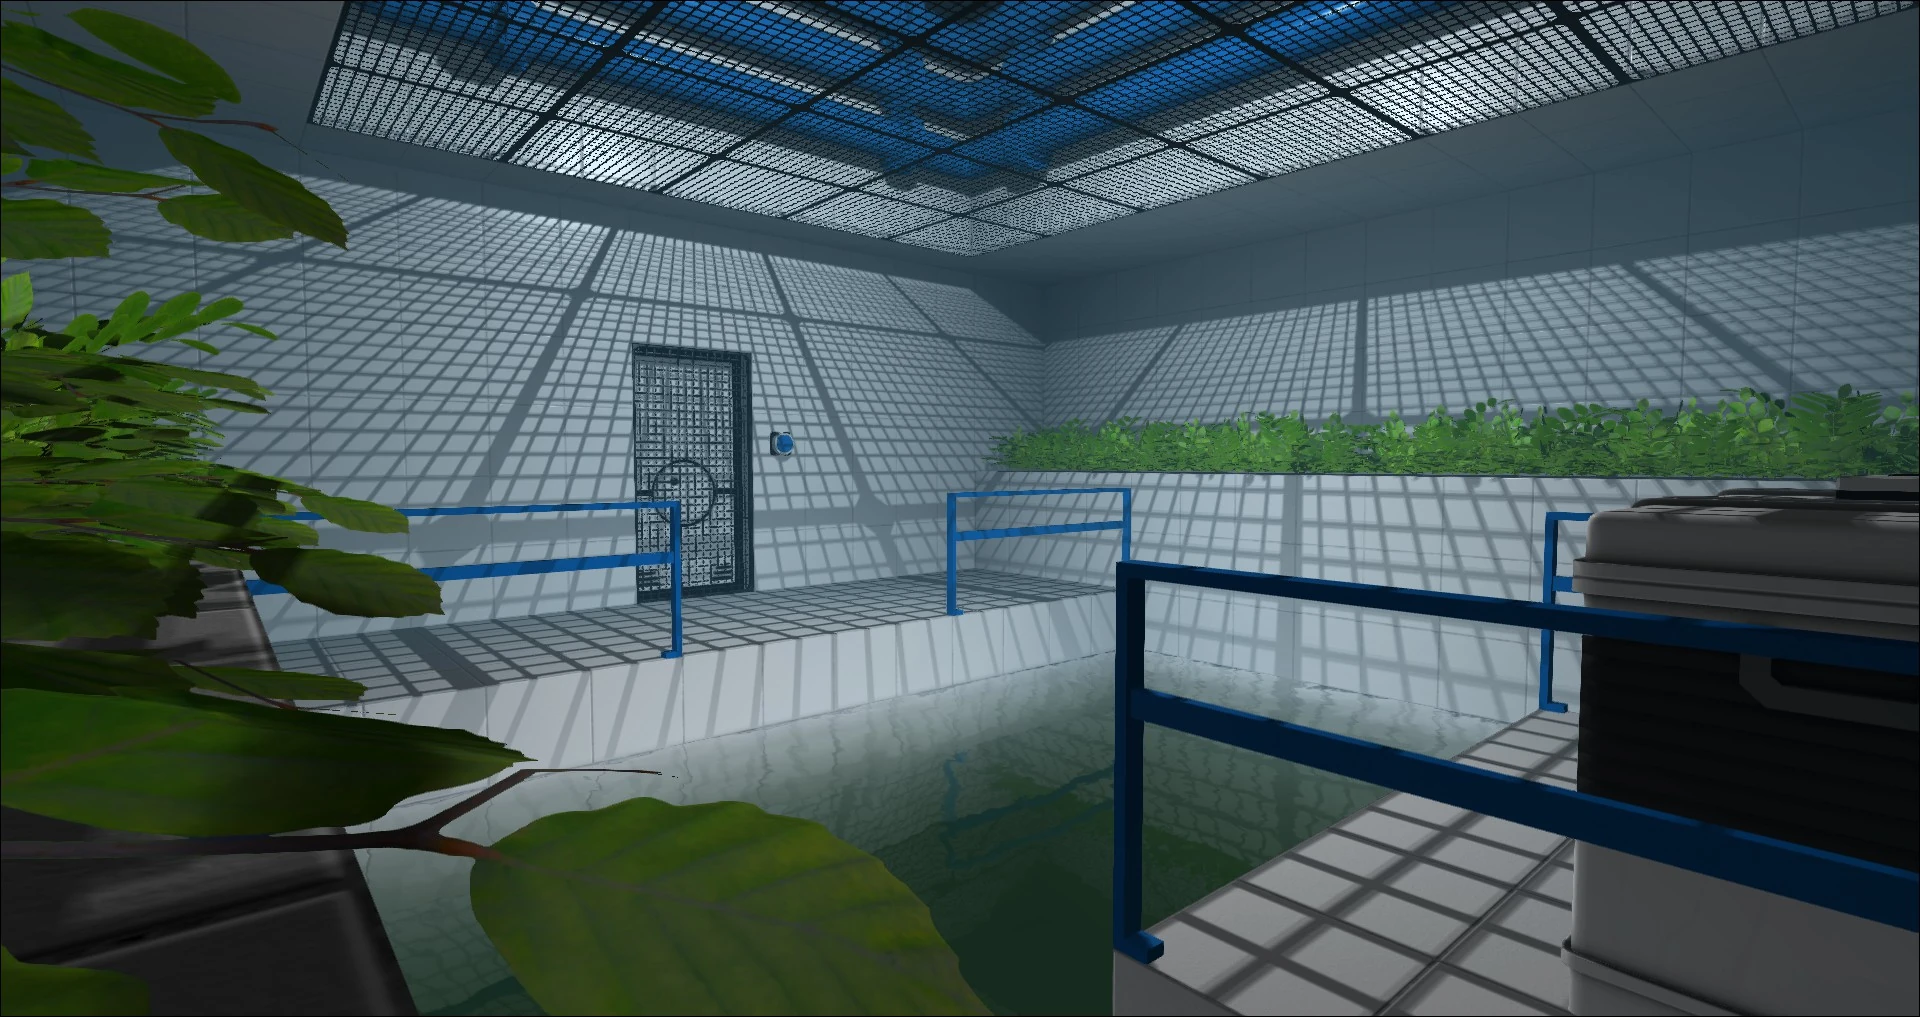
White Zone[]
This area is the starting place for the player and acts as the game's tutorial; teaching them how to move Haydee around, use items and solve simple puzzles which introduces them to the basic mechanics. Although each room contains an example of the core mechanics of Haydee, the lack of direct instructions means the player must work out each puzzle by themselves through trial & error or logical deduction.
Green Zone[]

This area serves as the field test for Haydee, being comparatively easy and having a multitude of puzzles, enemies and secrets to find as part of their first true experience of the game. However, the Green Zone are still difficult and call on knowledge of the game learnt from the tutorial; most deaths are caused by negligence or unawareness, forcing Haydee to act smarter and more carefully in preparation for the later stages of the game. Most of the area is built upon platforming and directly changing the environment using various buttons and switches; enemies are generally reserved as puzzle elements, usually being clearly visible before attacking and allowing Haydee ample time to intelligently react to their presence.
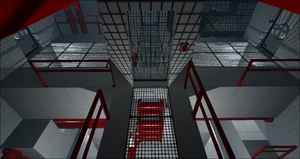
Red Zone[]

This area is similar to the Green Zone in nature, albeit a step-up in difficulty. The main focus of the area is exploration and combat, with almost all of the deeper complex being either difficult to locate or guarded by many enemies. Most items are hidden rather than locked behind puzzles, and ambushes are very frequent and deadly.
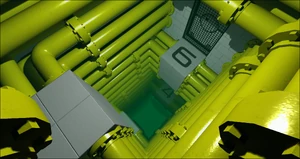
Yellow Zone[]

This area has several unique distinctions, the most noticeable being the presence of poisonous gas completely flooding the entire complex; the Respirator must be retrieved from the Red Zone as otherwise Haydee will take continuous, lethal damage over time. The Yellow Zone are also notable for the lack of visibility brought on by the Yellow Fog, as well as the Night Visor being unavailable due to the need to be wearing the Respirator constantly. Additionally, the Yellow Zone run on an extremely limiting floor/power system which dictates what rooms can be accessed; toggled via a small control room on Floor 5, numbered doors will only unlock if their respective Power is activated - however, Powers 1 or 6, 2 or 5 and 3 or 4 cannot be activated simultaneously and instead Haydee can only toggle between either of them. As well as this, the Yellow Zone restrict Haydee's inventory as a dual-gate system bars access to the control room, by refusing to unlock if she has any weapon in her possession; instead Haydee must use a transfer window on Floor 4 to smuggle them across.
Blue Zone[]

This area contains water and many enemies. It is only fully accessible after retrieving the two blue keys from the Green and Red Zone, which themselves require the three Green and four Red keys; the Zone themselves make extensive use of Remote Devices, and contain the Orange key necessary to achieve Haydee's endings. As such, it is not advised (And mostly impossible) to attempt the Blue Zone until the last stages of the game after retrieving high-tier equipment, due to the high difficulty and common stashes of SMG/Magnum ammo that make the basic Pistol inefficient. Almost all supplies are hidden and difficult to find, making it important to carry your own rather than relying on scavenging for more - being part of the late game, the Blue Zone very noticeably shift towards difficult platforming, puzzles and combat as Haydee is expected to be prepared as soon as she enters the area, making most items found either top-ups or rare emergency supplies.
After retrieving the Orange Keycard, Haydee can use it in the Blue Zone themselves to access the Escape Ending.
Black Zone[]


This area is notoriously difficult and set in pitch-blackness for most of Haydee; the Night Visor is needed to successfully navigate it, although the use of Power Nodes can light up specific areas, as well as supply the vital power needed to unlock certain doors, activate buttons or move the central elevator used to access Floors C and D. Many enemies are encountered in the Black Zone, often ambushing Haydee from around tight corners or places she just cleared; the lack of free movement makes Walkers considerably more deadly than anywhere else in the game, as Haydee will often be caught off guard and take high damage before she can react. Items are considerably rare and almost non-existent if not specifically hunted down, and the common appearance of Slashers, although not entirely threatening in the straight corridors that help make them easy targets, can quickly drain Haydee of resources; unlike the Blue Zone, which are best attempted in one long run, it is extremely helpful to leave the Black Zone temporarily to retrieve more ammo and medkits. The deeper parts of the Black Zone can only be accessed once the elevator is called to Floor B and Floor C's second section is entered - this allows Haydee to traverse to the core of the entire complex, where a Red Keycard and Floor G's power socket are found; allowing further access eventually leading to another key.
After retrieving the Orange Keycard, Haydee can use it on Floor B of the Black Zone to access the Control and Deadlock Endings.