No edit summary Tag: Visual edit |
Tag: Visual edit |
||
| Line 1: | Line 1: | ||
[[Haydee (Game)|Haydee]] has three separate Endings available, being the Control, Deadlock and Escape endings. |
[[Haydee (Game)|Haydee]] has three separate Endings available, being the Control, Deadlock and Escape endings. |
||
| − | == |
+ | == == |
Each ending requires the retrieval of the Orange Keycard from the [[Blue Rooms|Blue Zone]]; they can only be accessed at the very end of the game, and immediately end it upon achieving one. |
Each ending requires the retrieval of the Orange Keycard from the [[Blue Rooms|Blue Zone]]; they can only be accessed at the very end of the game, and immediately end it upon achieving one. |
||
[[File:AchievementGameDone?.jpg|thumb|128x128px|Game Done?]] |
[[File:AchievementGameDone?.jpg|thumb|128x128px|Game Done?]] |
||
Revision as of 01:54, 13 July 2020
Haydee has three separate Endings available, being the Control, Deadlock and Escape endings.
Each ending requires the retrieval of the Orange Keycard from the Blue Zone; they can only be accessed at the very end of the game, and immediately end it upon achieving one.

Game Done?
Reaching any ending for the first time will earn the player achievements based on the difficulty they were playing on. Subsequent endings can earn different achievements based on unique criteria fulfilled throughout a playthrough when Haydee reaches one.

Game Done.
Game Done?
Complete the game on Softcore.
Game Done.
Complete the game on Hardcore.
Completing the game on either Softcore will earn the player Game Done?, whereas completing the game on Hardcore will earn Game Done in addition to Game Done? (If not already unlocked).
Escape
The Escape ending requires Haydee to use the Orange Keycard in the Blue Zone themselves, and is arguably easier; compared to the others, very few enemies are encountered and a Save Station is relatively close by. However, it reveals the least about the Facility and its nature.
Achieving the Escape ending will print the following to the console:
ITERATION END
NEW MASTER ACQUISITION FAILED
SYSTEM RESTART
SEARCHING FOR MASTER
MASTER FOUND
RESTORING ACTIVE CONFIGURATION
UPLOADING ROOM SCHEME
ROOM SCHEME NOT CHANGED
CLEANUP
ITEMS RESET
SPAWNING
ITERATION AB16-800B-58AB-E833 STARTUP
PRESS ANY KEY TO CONTINUE
Haydee herself will be locked inside the final area, a gate appearing over the exit as soon as she uses the Orange Keycard; presumably dying of natural causes afterwards. As shown, the next Haydee's iteration ends with 58AB-E833, the Master not having been replaced and the sub-cycle continuing.
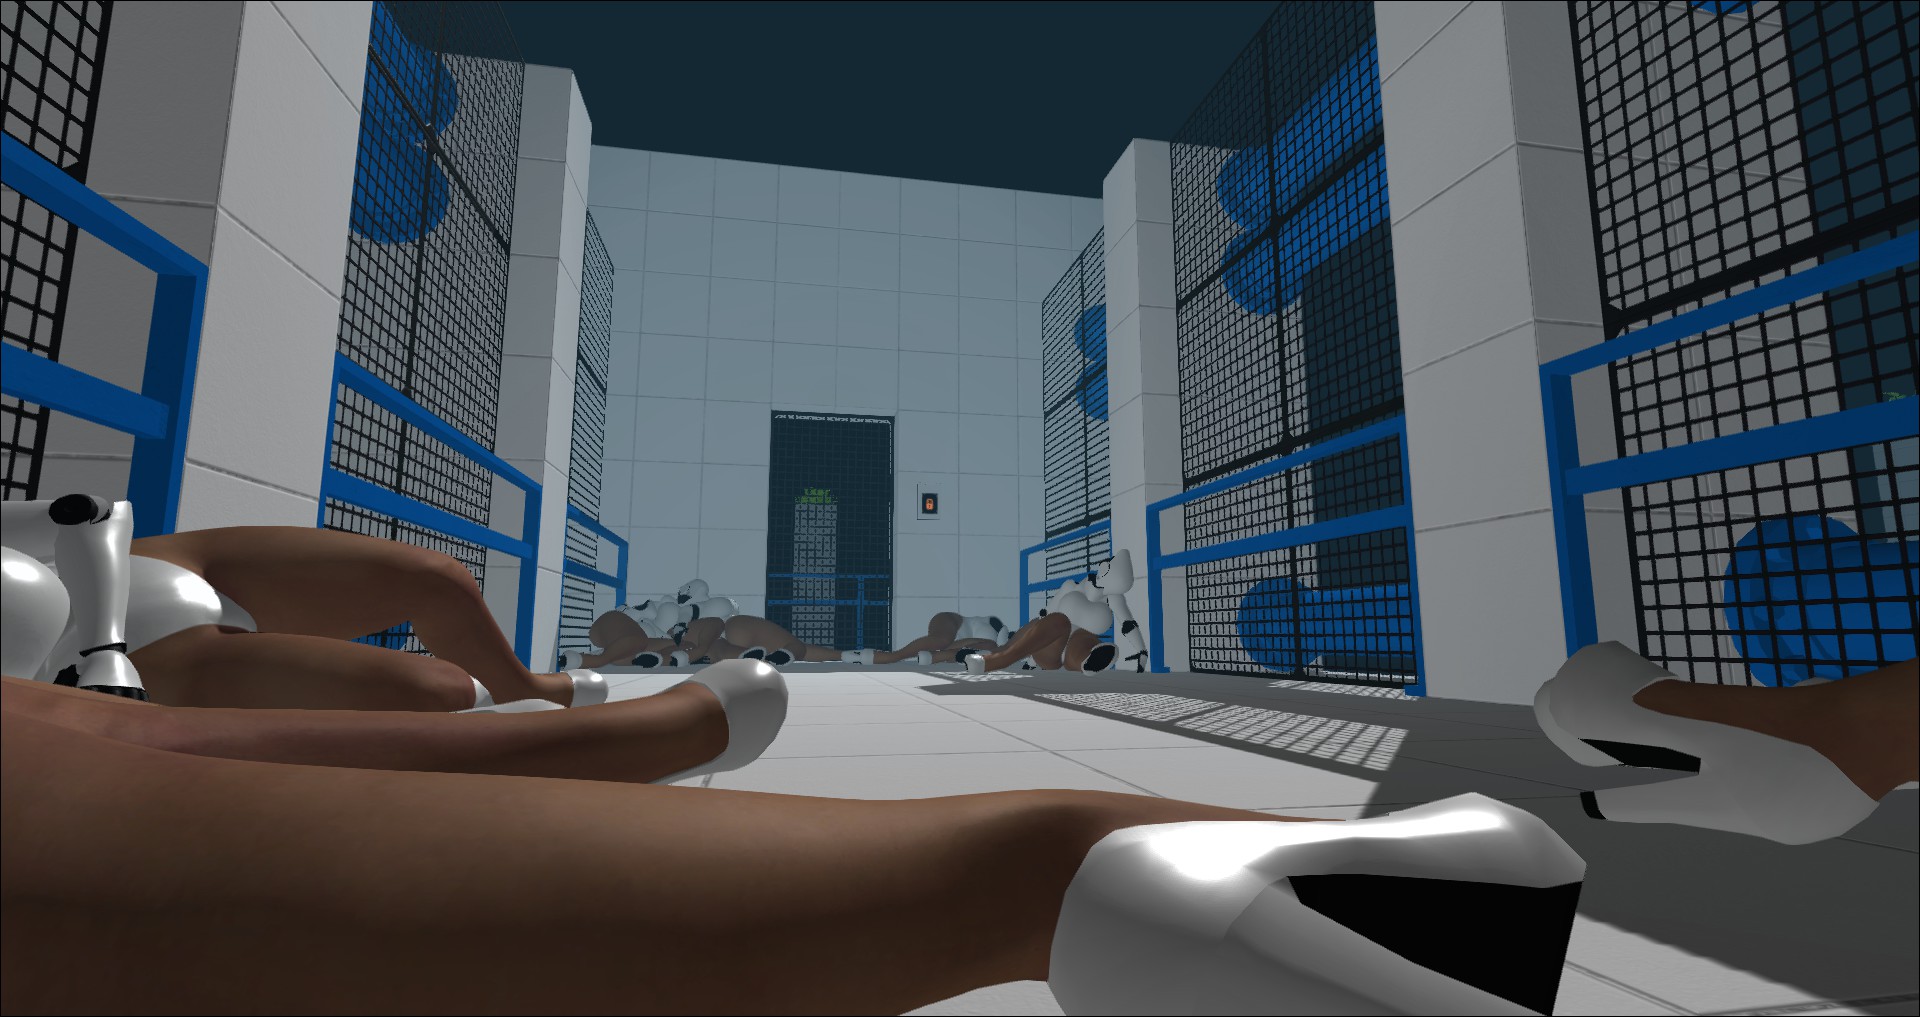
The final resting place of Haydee in the Escape Ending.
No way out


No way out.
Fail the escape ending.
Using the Orange keycard in the Escape ending will earn the player the No way out achievement. Despite its description, Haydee cannot actually succeed in escaping the facility.
Control/Deadlock
The Control and Deadlock endings require Haydee to use the Orange Keycard in the Black Zone instead. As expected, these endings are harder to obtain due to the heavy prevalence of enemies there; the last defence of the Master is built almost entirely from a small army of Slashers. In comparison to the Escape ending, many more implications are suggested about the purpose of the Haydee units.
Achieving the Control ending will print the following to the console:
ITERATION END
NEW MASTER FOUND
ESTABLISHING CONNECTION
DEFINING PREFERENCES
REBUILDING STRUCTURE
NEW CONFIGURATION COMPLETE
ACTIVATING
UPLOADING ROOM SCHEME
SPAWNING
ITERATION AB16-800B-58AC-0000 STARTUP
PRESS ANY KEY TO CONTINUE
Alternatively, achieving the Deadlock ending will print the following to the console:
ITERATION END
MASTER NOT FOUND
NEW MASTER NOT FOUND
CRITICAL ERROR
WAITING FOR RESPONSE
ACTIVATING SECONDARY PROTOCOL
RESTORING FROM DUMP
UPLOADING ROOM SCHEME
ROOM SCHEME NOT CHANGED
CLEANUP
ITEMS RESET
SPAWNING
ITERATION AB16-800B-58AB-E833 STARTUP
PRESS ANY KEY TO CONTINUE
Haydee will eventually encounter the Master's personal Guards in a narrow corridor just before her chamber; however, the mass of Slashers and Walkers will not attack, letting Haydee pass straight through to confront the Master. Haydee can either kill the Master, resulting in an automatic shutdown and assimilation of the Master's place - refining the Facility to be tougher and even less forgiving, as part of a forceful evolution of the Haydee models; with AB16-800B-58AC-0000 being the first to attempt the newly improved course.
Haydee also has the option to use a Proximity Mine to destroy both her and the Master at the same time. This results in a 'critical error', as no Master is present to control the Facility; however, it reloads the same settings as the previous Master as part of a contingency plan. It is worth noting that although the previous Master's preferences are reused, a replacement Master is not activated and the position is presumably left empty for the next successful Haydee unit to take.

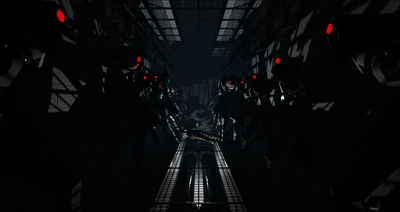
The Master's personal Guards.


The Master's Chamber.


Remastered.
Remastered
Assume control.
Deadlock
Break the System.


Deadlock.
Killing the Master will earn the player the Remastered achievement if Haydee is still alive. If she is not, the Deadlock achievement will be awarded instead.
Trivia
- In the game's texture.pack file, a sign reading 'The Cycle must be broken' can be found, although it is seemingly absent from Haydee itself.